


One child dies every two weeks from tipping furniture, according to the Consumer Products Safety Commission. Most furniture manufacturers include a kit to anchor dressers and shelves to walls, but if you don't have a kit, you can purchase angle brackets at any hardware or home improvement center. Anchoring a dresser is simple, takes less than 30 minutes, and can save a child's life.
Video of the Day
Things You’ll Need
-
Provided hardware kit or 2 angle brackets and wood screws
-
Hollow wall anchors, 2
-
5/8" wood screws, 2
-
Washers, 4
-
Hacksaw
-
Stud finder
-
Portable drill
-
Screwdriver
-
Hammer
Prepare the Dresser
Remove the drawers and clear the area in front of the dresser.

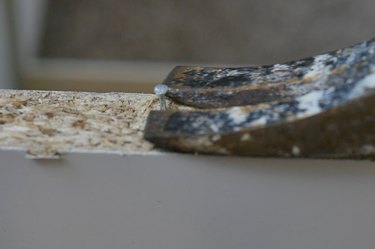
Lay the dresser on its face on the floor — cushion the front with an area rug, if necessary. Pry the nails from the dust cover on the back.
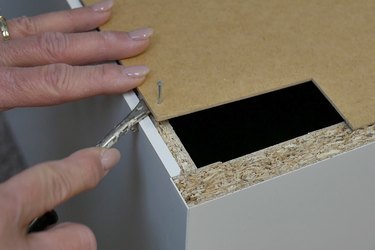
Remove the dust cover and pull any remaining nails.
Install Brackets Provided by Manufacturer
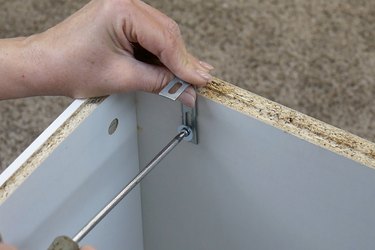
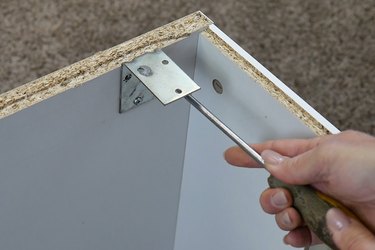
Line up a bracket with the pre-drilled holes inside the dresser. Drive a screw through a washer, tightly securing the bracket to the top of the dresser.
OR Install Angle Brackets Purchased Separately
If you don't have brackets provided by the manufacturer, you can buy angle brackets at any hardware store or home improvement center. Position the brackets on the underside of the dresser top and mark the holes.

Tip
When purchasing angle brackets for this project, make sure the screws that come with it will not protrude through the top of the dresser. Buy additional screws separately, if necessary.
Drill shallow pilot holes, using a small drill bit. Be very careful not to drill all the way through the wood.
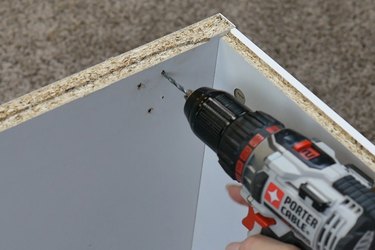
Drive wood screws through the bracket and into the top of the dresser. Again — be careful not to drive the screws through the top.
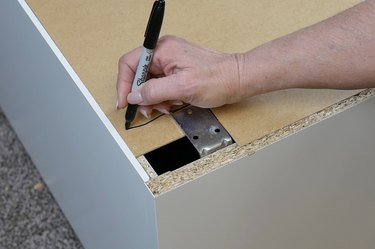
Set the dust cover back in place to see if you need to make a bigger notch to accommodate the bracket. If necessary, mark a cut.
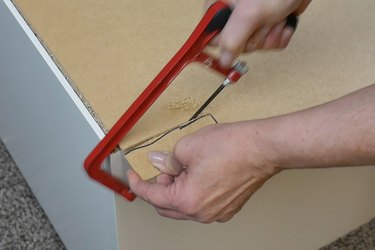
Cut along marked lines.
Replace dust cover and tack it back in place.

Anchor the Dresser to the Wall
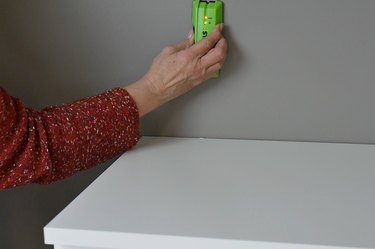
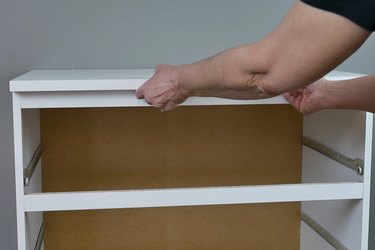
Now that you have the brackets in place, you're ready to attach the dresser to the wall. Use a stud finder to locate and mark the studs in the area. Tip the dresser up and position it so at least one bracket will be located on a stud.
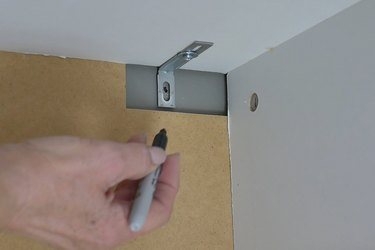
Line a bracket up with the stud and mark the bracket hole.
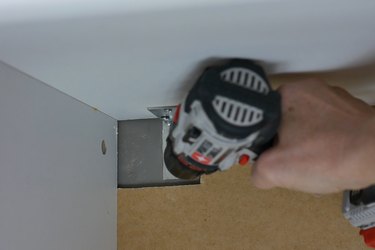
Drive wood screws through the bracket and into the stud.
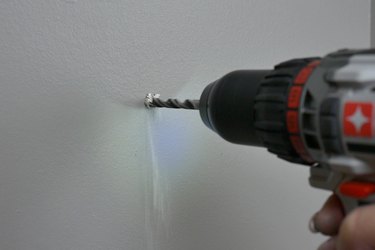
OR: if no stud is available in the desired location, use hollow wall anchors. Mark the bracket locations and drill 1/4" holes into the wall.
Tap a hollow wall anchor into each hole.
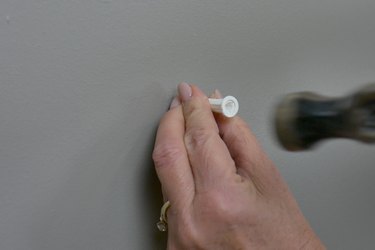
Position the dresser and drive a screw through a washer and the bracket, into the hollow wall anchor. Repeat on the other side.

Finish Up
Pull and shake on the dresser to be sure it's securely attached to the wall.
Replace the drawers.


