


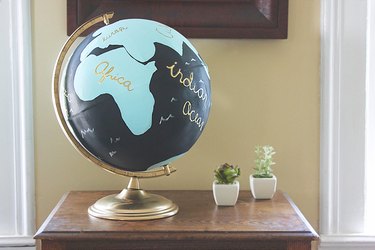
Transform an ordinary globe into a breathtaking piece of artwork in just a few easy steps. Inspired by Anthropologie's Handpainted Wanderlust Globe, this DIY painted globe offers an affordable alternative to add worldly elegance to your home.
Video of the Day
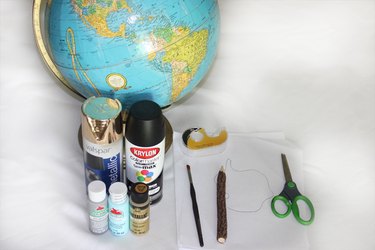
Things You’ll Need
-
Africa template
-
Antarctica template
-
Australia template
-
Europe-Asia_01 template
-
Europe-Asia_02 template
-
North America template
-
South America template
-
Printer
-
40-inch globe with a stand
-
Scissors
-
Double-sided tape
-
Metallic gold spray paint
-
Matte black spray paint
-
Light blue acrylic paint
-
1/4-inch paintbrush
-
Lettering template
-
Pencil
-
Metallic gold acrylic paint
-
Light gray acrylic paint
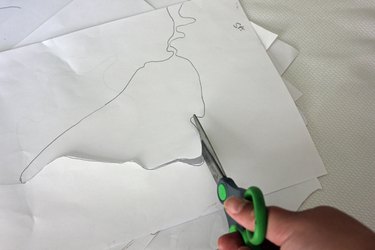
Step 1: Cut Out the Continent Templates
Download and print the continent templates, and then use scissors to cut them out. Some of the templates are on two pages, and they will need to be connected when it is time to paint the globe.
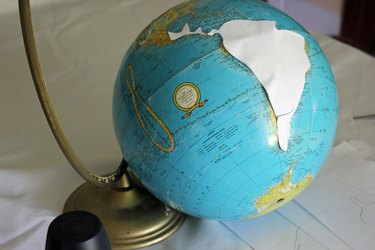
Step 2: Tape Templates to the Globe
Remove the globe from the stand and use double-sided tape to attach the continent templates to their corresponding areas on the globe. Place the tape as close to the edges as possible. If the edges are not taped down, paint may get underneath the templates when the globe is painted.
Step 3: Paint the Stand
In a well-ventilated room or outside, paint the stand with gold metallic spray paint. Paint the stand in thin, light coats to prevent paint drips. Allow the stand to dry completely.
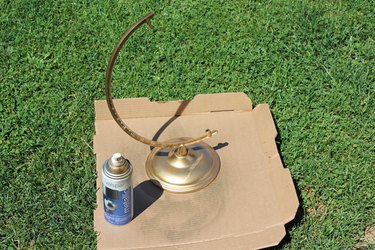
Tip
Protect your work area by covering it with cardboard or newspapers.
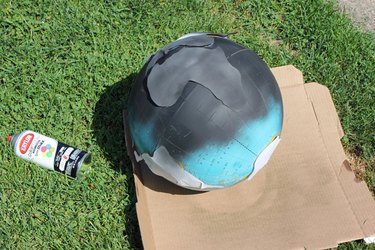
Step 4: Paint the Globe
Spray the globe and taped templates with thin, light coats of matte black paint. Spray one side, let the paint dry completely, and then turn it over to paint the other side.
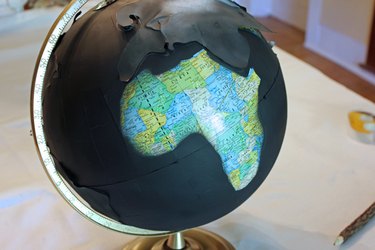
Step 5: Remove the Templates
Once the paint is dry, place the painted globe back on the stand and carefully remove the continent templates. If you notice that some of the black spray paint got underneath the edges of your templates, you can trace the outline of the template with a pencil before removing it from the globe.
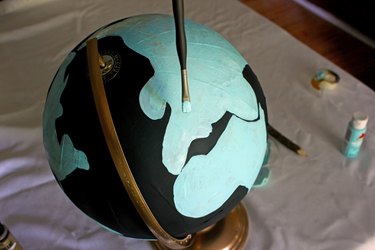
Step 6: Paint the Continents
Use a 1/4-inch paintbrush to paint the continents with light blue acrylic paint. Multiple coats of paint may be needed. Make sure to let the paint dry completely in between each coat.
Step 7: Cut Out and Trace the Lettering
Download, print and cut out the lettering templates and trace an outline of the letters on the oceans and continents. Alternatively, you could freehand the names of the continents and oceans.

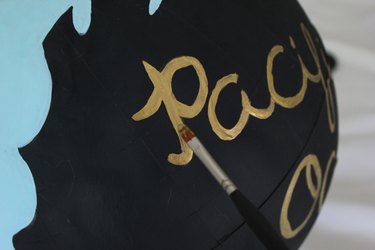
Step 8: Paint the Names of Oceans and Continents
Fill in the continent and ocean names you just traced with a 1/4-inch paintbrush and gold acrylic paint.
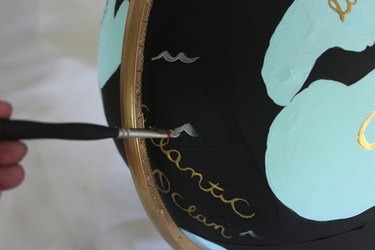
Step 9: Paint the Waves
Use light gray acrylic paint and your paintbrush to add small waves to the ocean portions of the globe.
Choose an area such as an end table or shelf to proudly display your new hand-painted globe.


